
This is the first in a series of posts around deploying a Jekyll site to Azure storage.
The end goal is to be able to edit the site locally, sync changes to an Azure DevOps repository and have CI/CD pipelines generate the static site and publish to Azure storage. This tutorial comes in two parts. Part two will cover configuring auto-renewing LetsEncrypt SSL certs, Azure DNS, and Azure CDN.
Credits
This builds on the work of others, most notably:
Matt Allford on YT: https://www.youtube.com/watch?v=MX-7rVL7088
Sam Cogan: https://samcogan.com/lets-encrypt-certificates-in-azure-with-acmebotot/
Gunnar Peipman: https://gunnarpeipman.com/jekyll-azure-static-website/
Pre-requisites:
A Microsoft Azure subscription - https://azure.microsoft.com/en-gb/free/
Jekyll theme – I am using PlainWhite: https://github.com/samarsault/plainwhite-jekyll
VSCode - https://code.visualstudio.com/
Git - https://git-scm.com/downloads
The first task is to create a storage account and enable the static website feature.
Log in to the Azure portal and create a storage account:
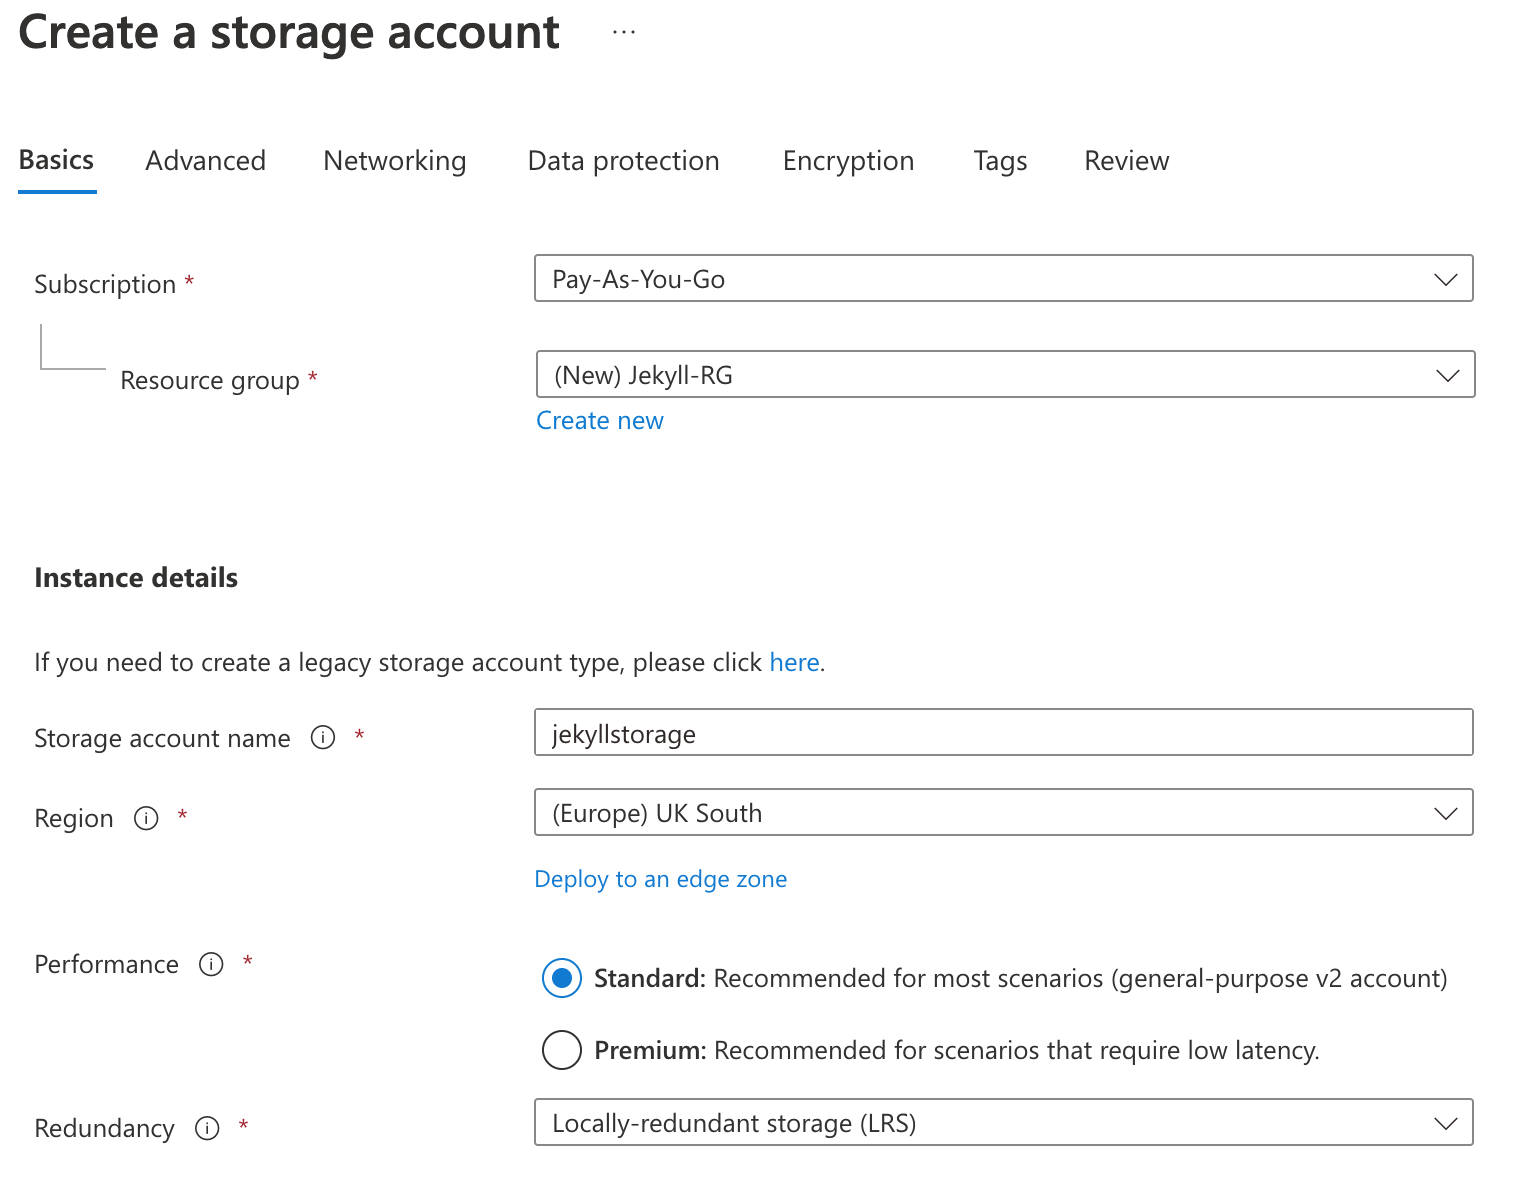
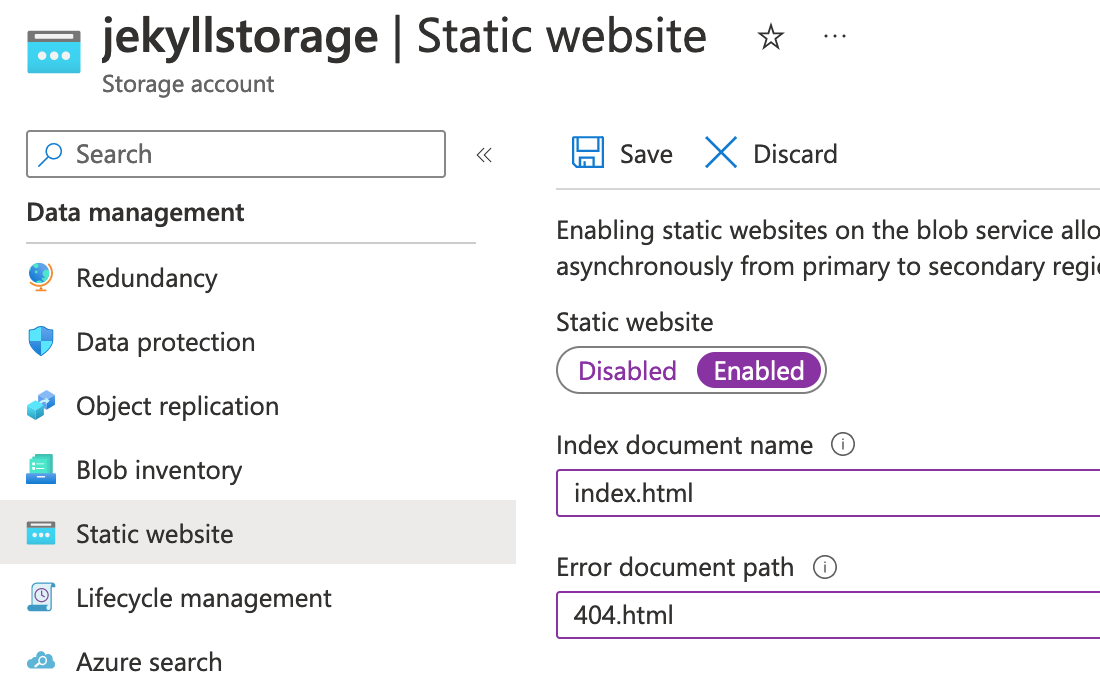
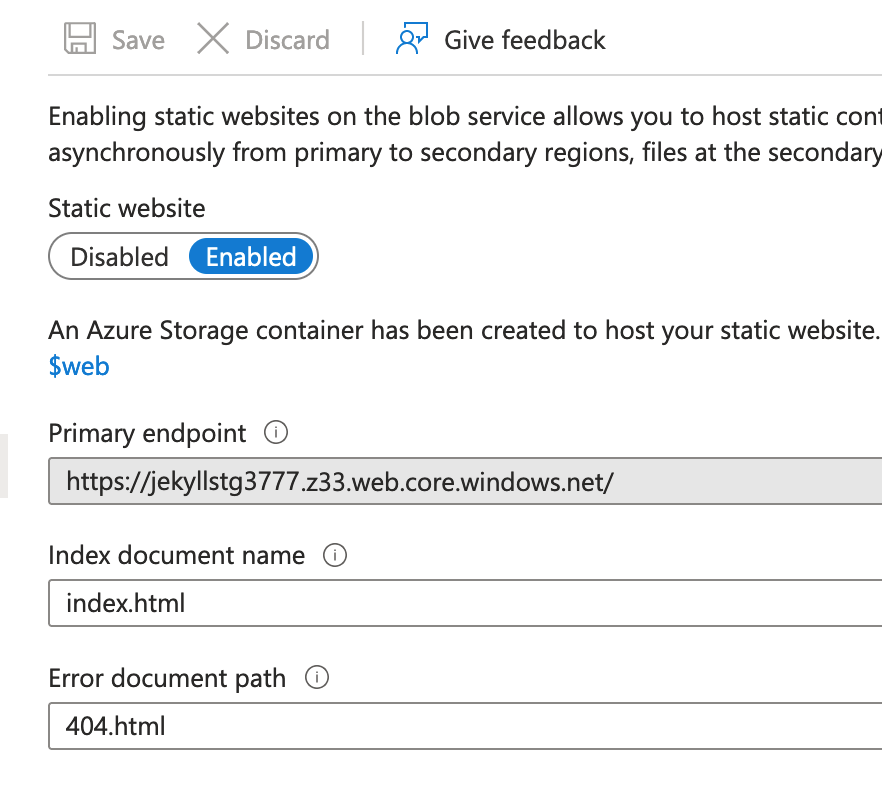
Once created, browse to the storage account -> Data management -> Static website -> Select “Enabled”, add Index and Error documents then save. This creates a container named $web in the storage account that will store site files and folders.
Make a note of the URL for the site, listed as the Primary Endpoint:
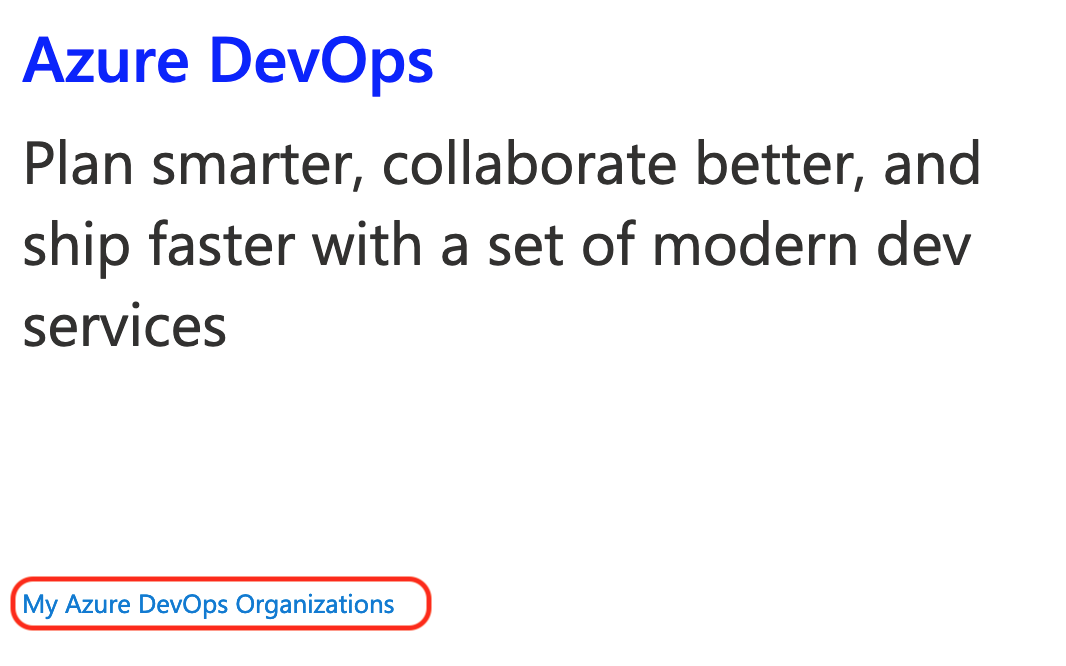
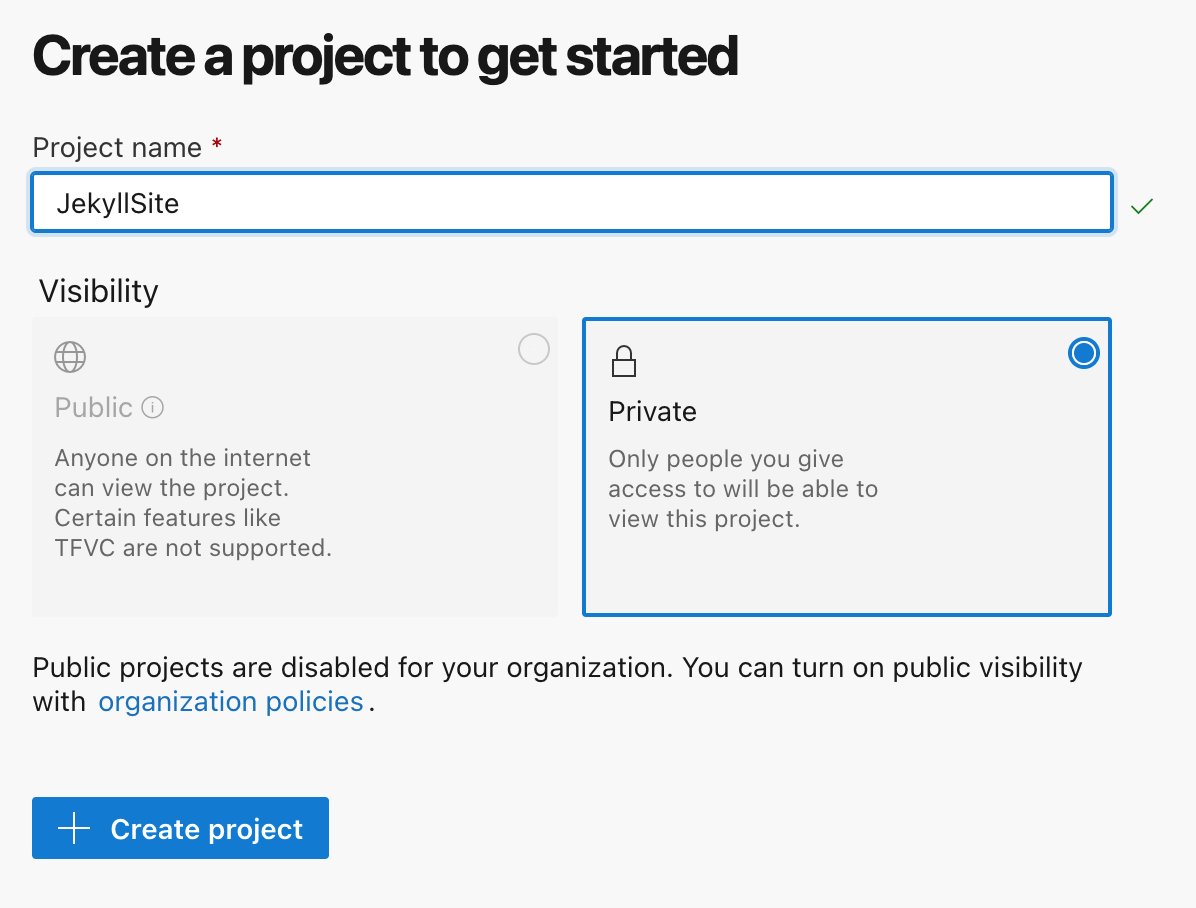
Search in the Azure Portal for “Devops”, create an organisation (if required), then create a project:
If this is a new organisation, request a free grant of parallel jobs from MS using the AZPipelines Parallelism Request form.
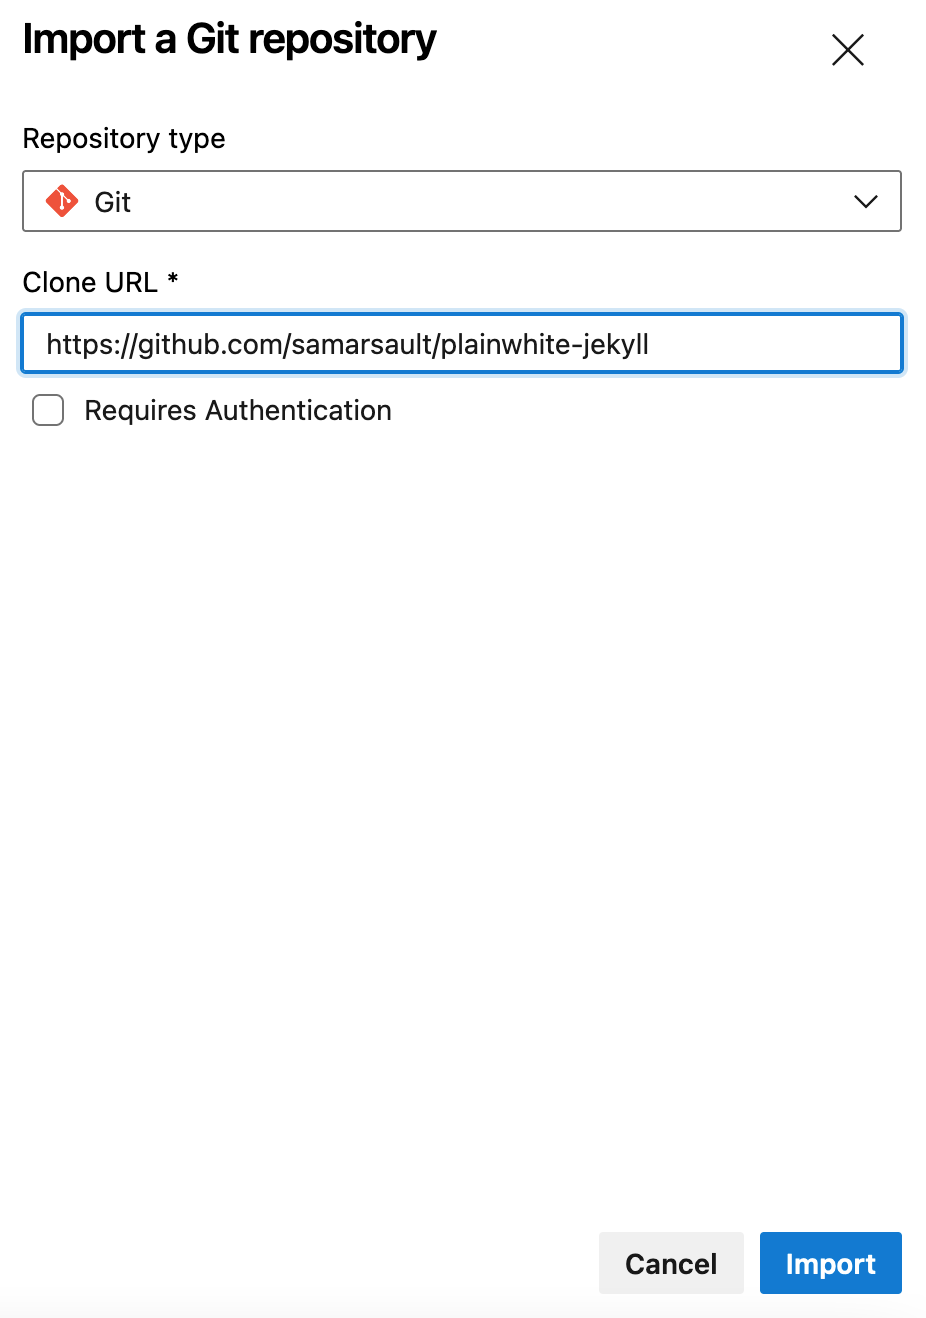
Browse to the project repository -> Import a repository -> Import
I am using the Plainwhite theme available at: https://github.com/samarsault/plainwhite-jekyll
In the repository, click on “Clone” then “Generate Git Credentials” and make a note of the username and password.
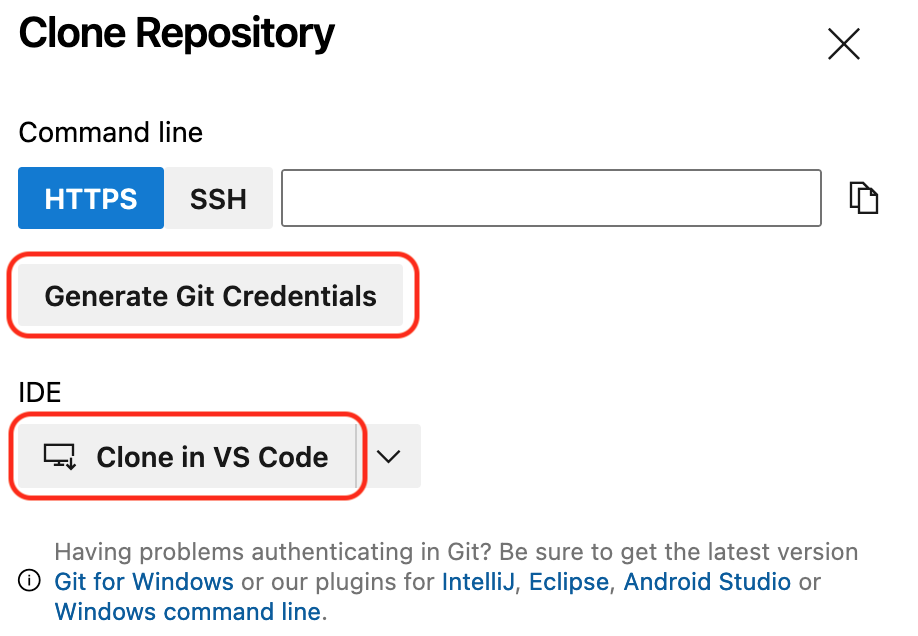
Click on Open and select a location to store the code. Supply the generated password when prompted in VSCode.

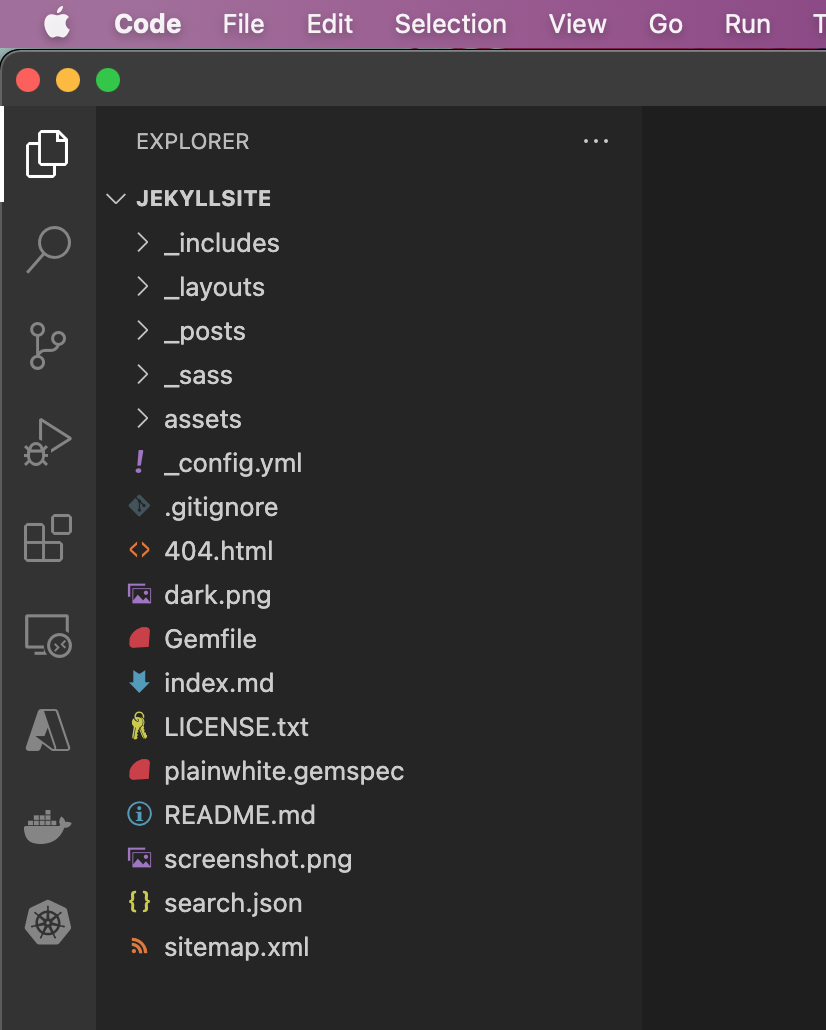
You should now see your file structure replicated in VSCode and be able to make changes.
The first change is to add a file to the root of the folder called:
build.yml
and paste in the following:
# Ruby
# Package your Ruby project.
# Add steps that install rails, analyze code, save build artifacts, deploy, and more:
# https://docs.microsoft.com/azure/devops/pipelines/languages/ruby

trigger:
- master

pool:
  vmImage: 'ubuntu-latest'

steps:
- task: UseRubyVersion@0
  inputs:
    versionSpec: '>= 2.5'

- script: |
    gem install jekyll bundler
    bundle install --retry=3 --jobs=4
  displayName: 'bundle install'

- script: |
    bundle install
    jekyll build
  displayName: 'jekyll'

- task: CopyFiles@2
  displayName: 'Copy Files to: $(Build.ArtifactStagingDirectory)'
  inputs:
    SourceFolder: '_site'
    TargetFolder: '$(Build.ArtifactStagingDirectory)'

- task: PublishBuildArtifacts@1
  inputs:
    pathtoPublish: '$(Build.ArtifactStagingDirectory)'
    artifactName: site
This file will control the build pipeline. It specifies the VM agent type to use, installs the required software, builds the Jekyll site and outputs it as an artifact.
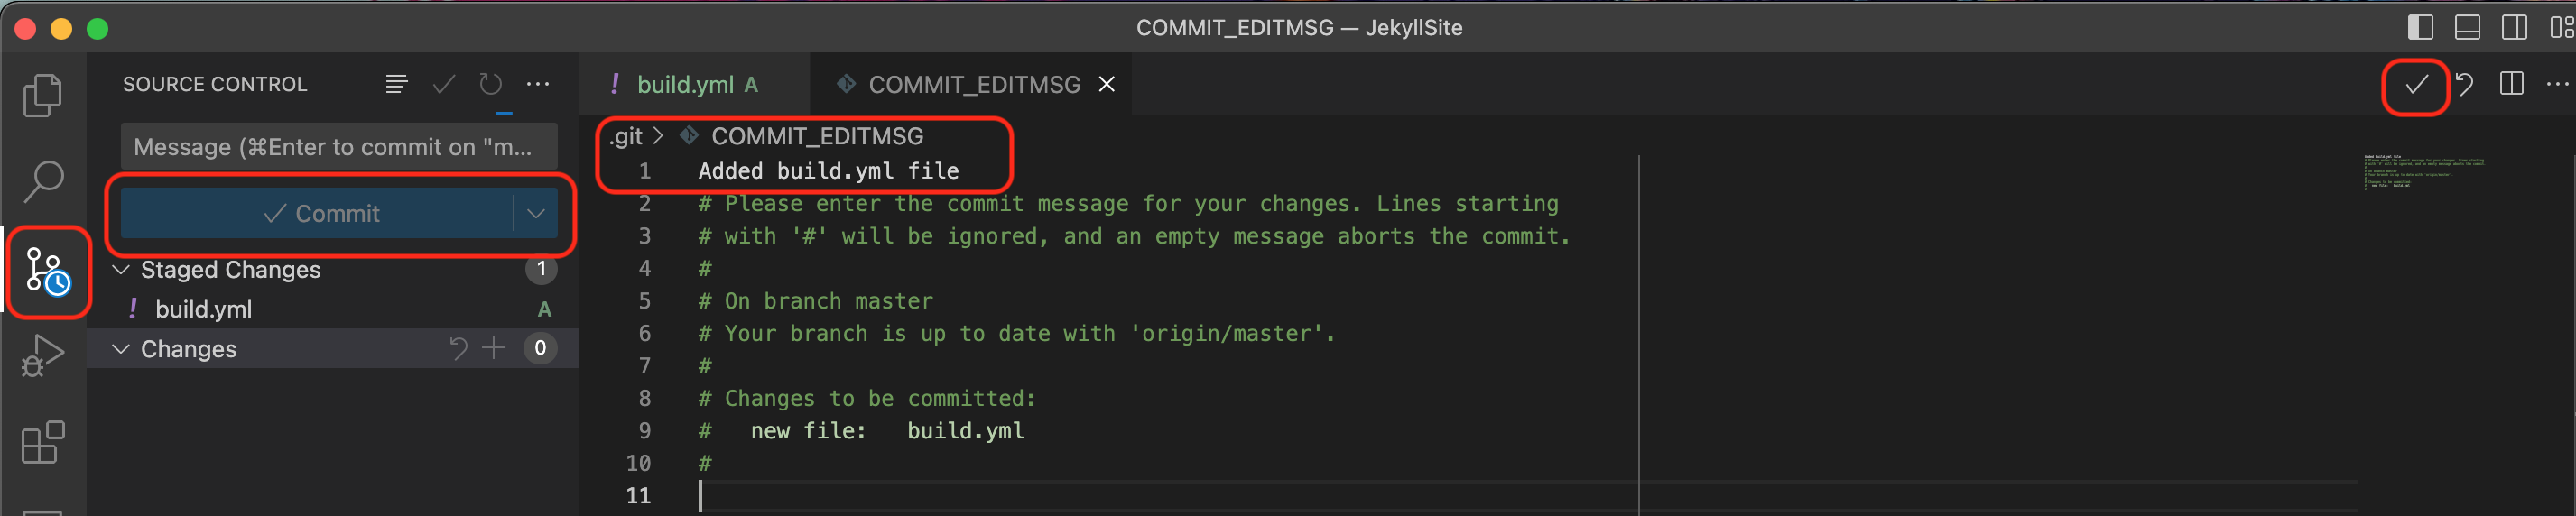
Next browse to Source Control -> “Commit” -> enter a commit message -> click on the tick at top right to accept:
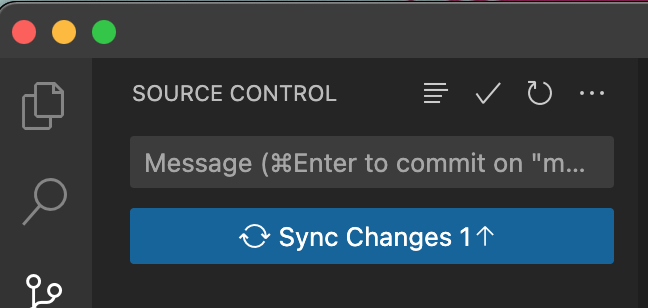
Now sync changes:
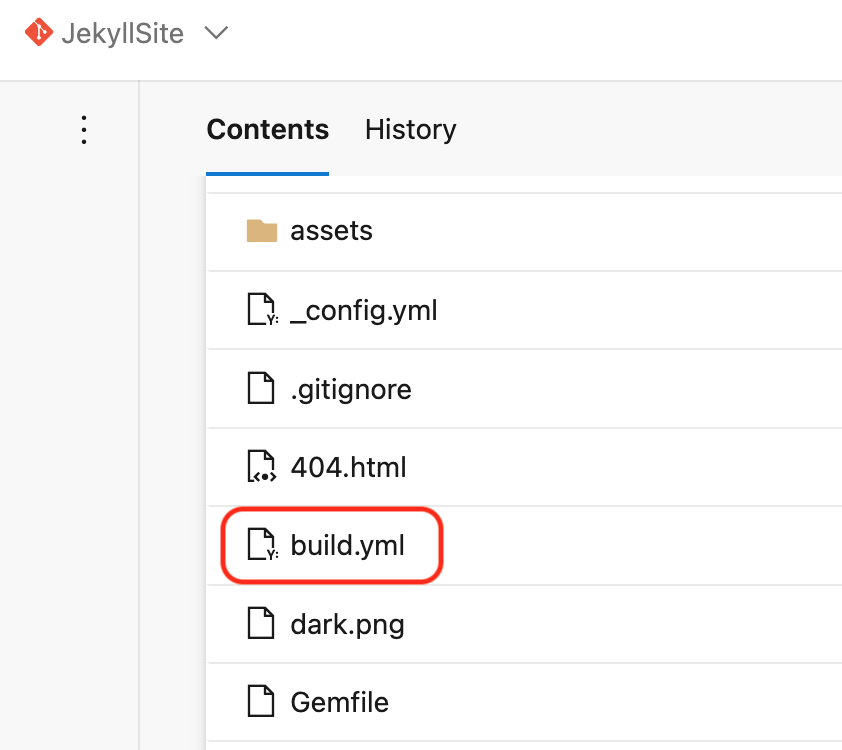
Your DevOps repository in Azure should now contain the build.yml file.
Set up the Build pipeline
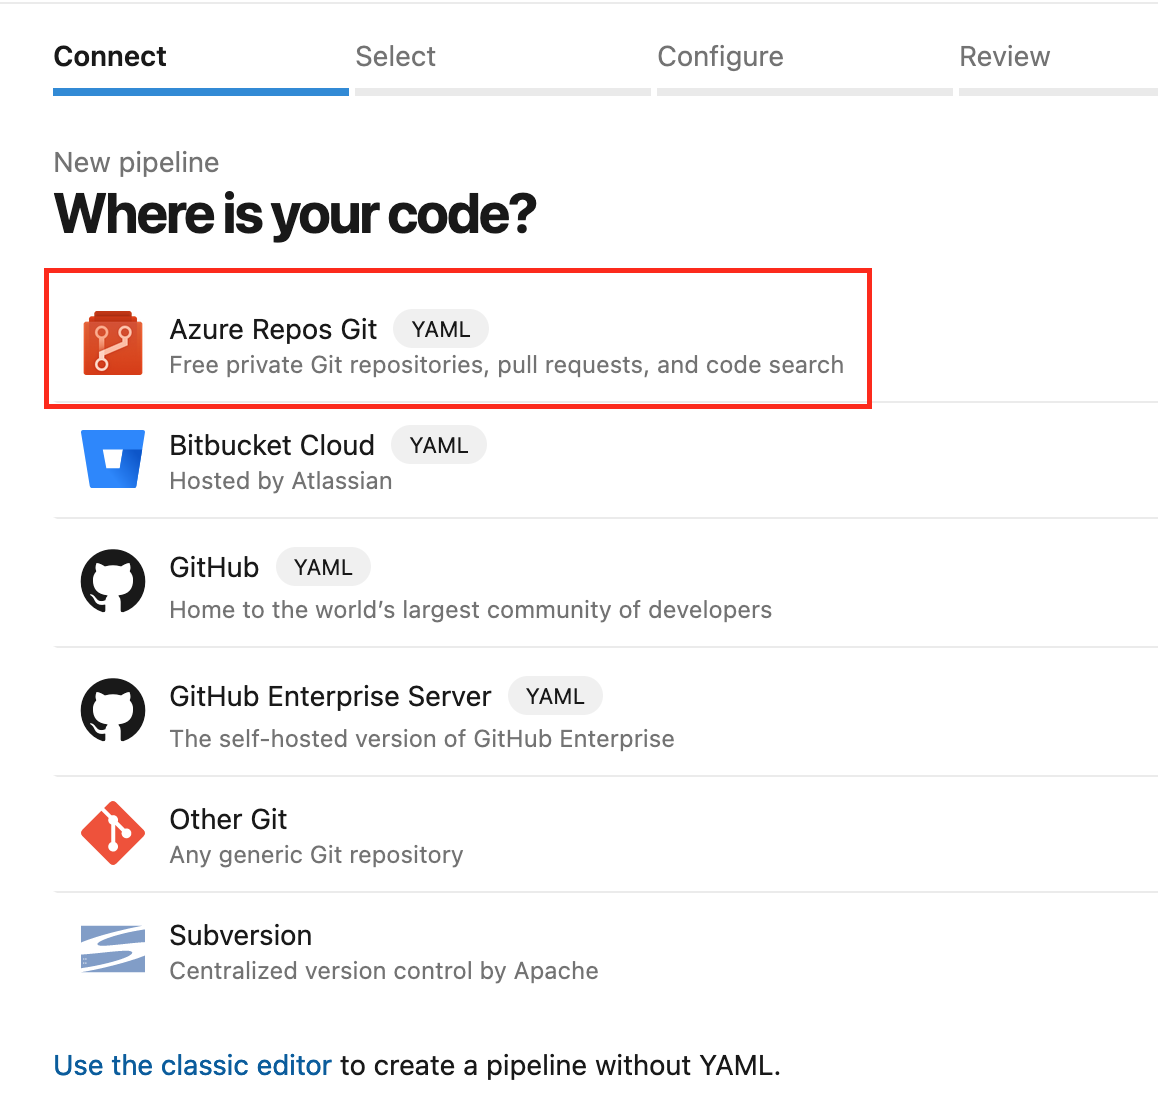
In your Azure DevOps project, browse to “Pipelines”, click on “Create Pipeline” and select “Azure Repos Git”
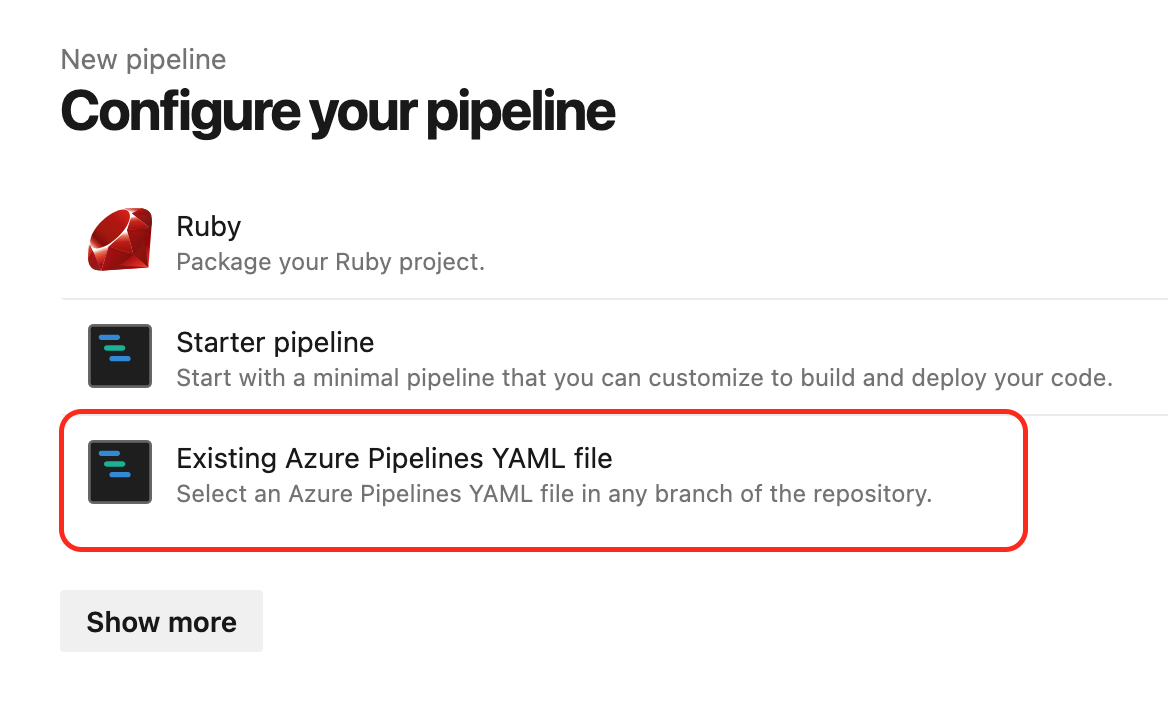
Select “Existing Azure Pipelines YAML file”
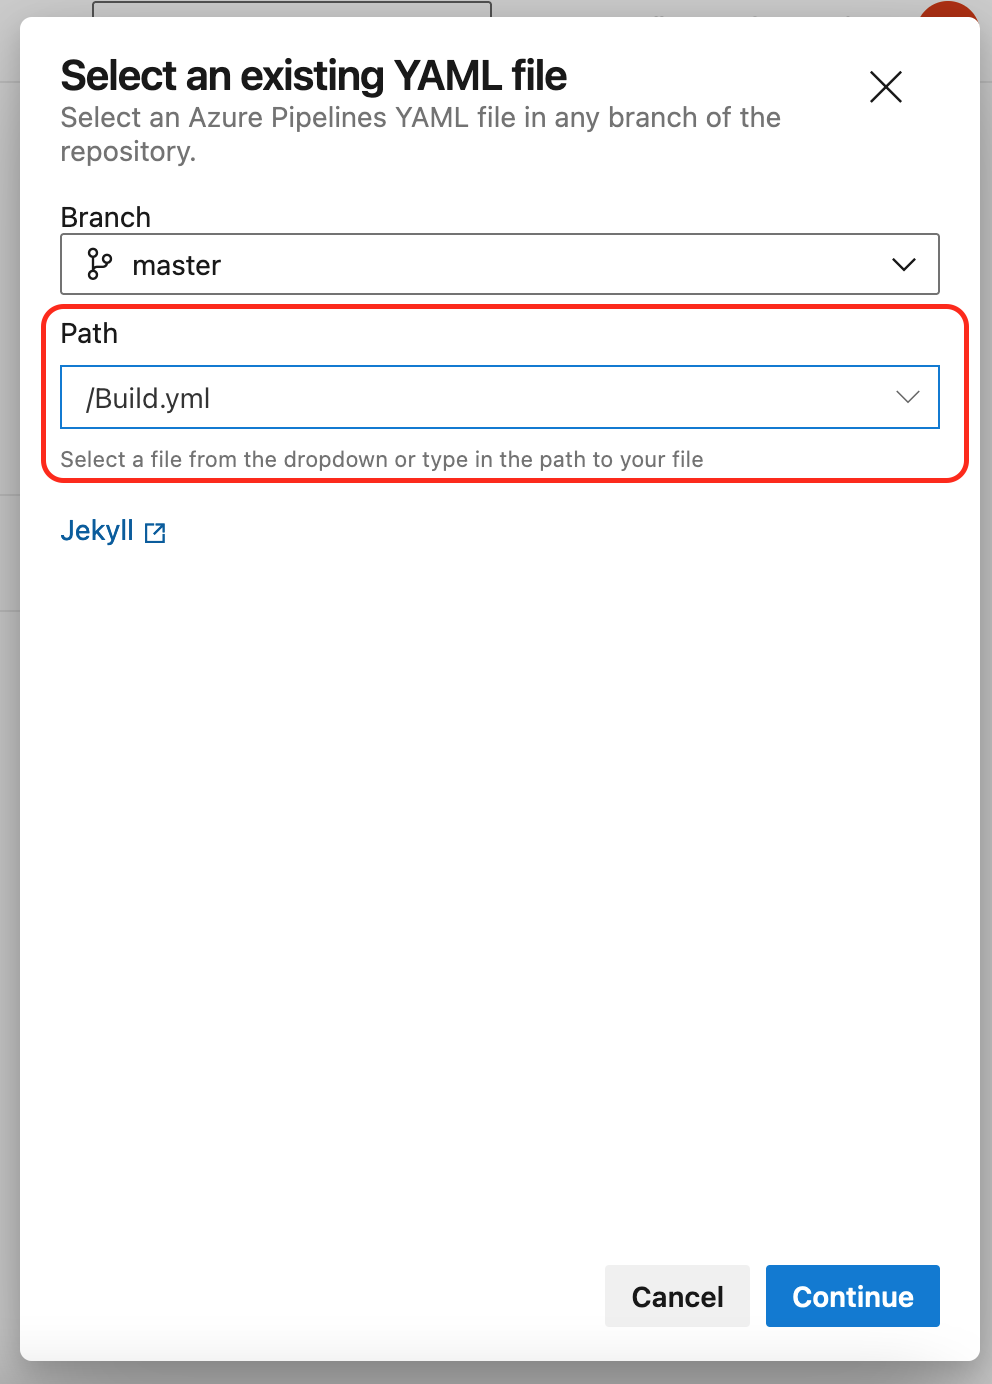
Select the build.yml file created earlier:
Run the pipeline and it will generate the complete site files and output them as an artifact.
If you get a “No hosted parallelism has been purchased or granted” error, request a free grant of parallel jobs from MS using the form linked above.
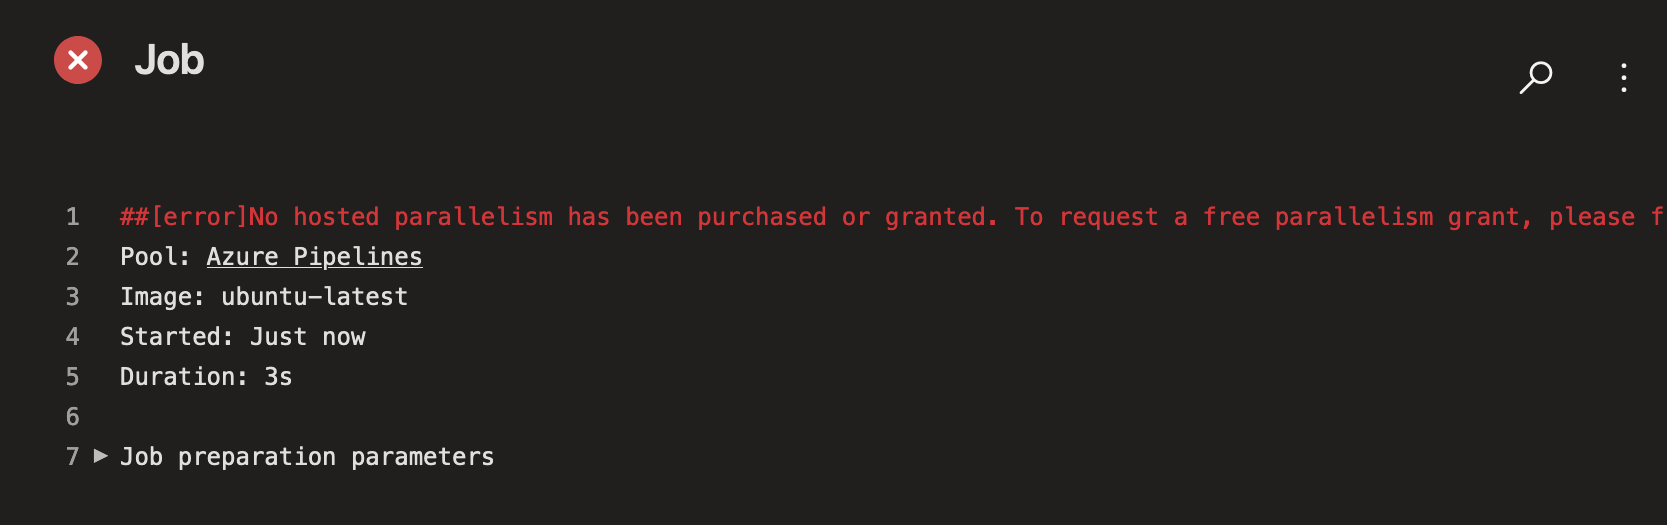
You will be notified by email once you have received the grant – it may be a while but normally completes within 24 hours.
Set up the Deploy pipeline
Once the build pipeline has run successfully, we can create a deployment pipeline to push the artifact to the Azure Storage $web container.
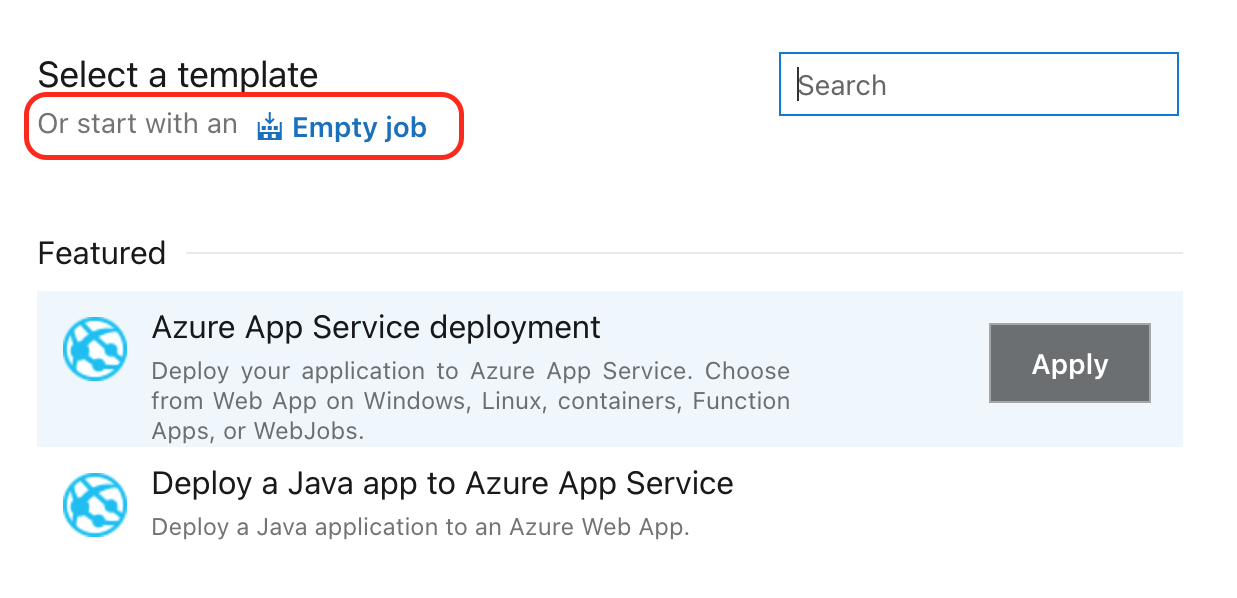
Browse to Pipelines -> Releases -> click on “New pipeline” and select “Empty job”:
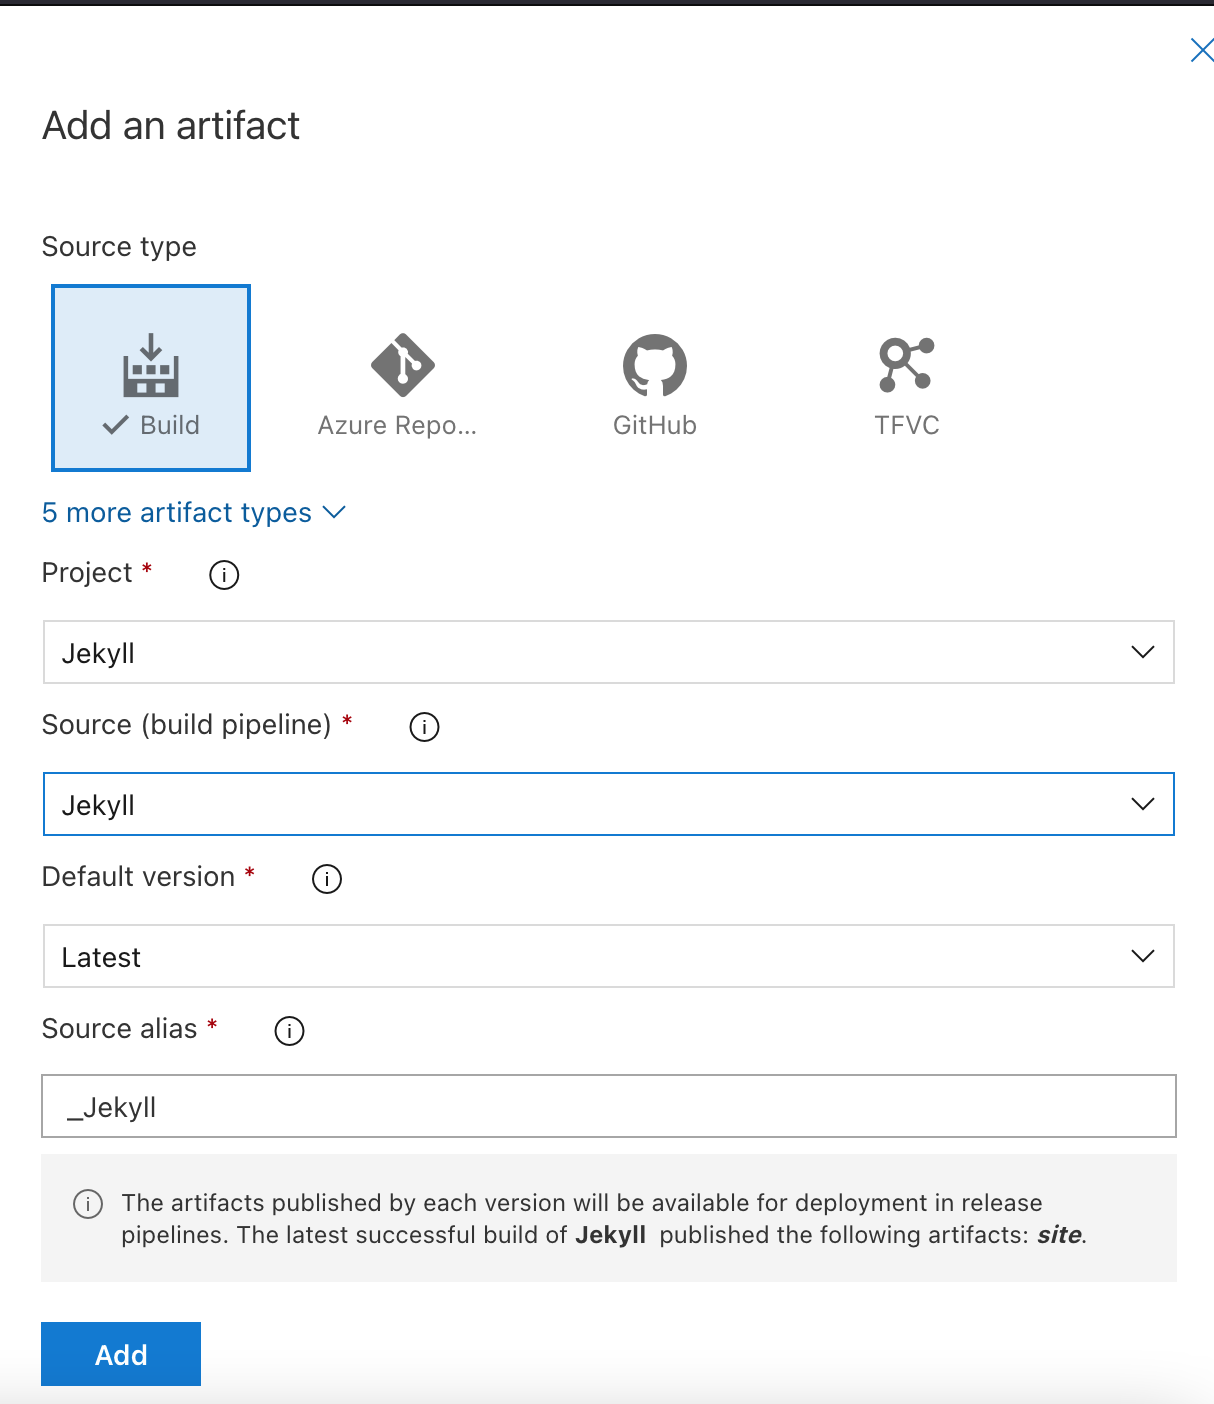
In “Artifacts”, click on “Add” and select the build from the previous pipeline:

Click on “Add”.
In order to have the release pipeline trigger after every new build:
Click on the lightning icon:
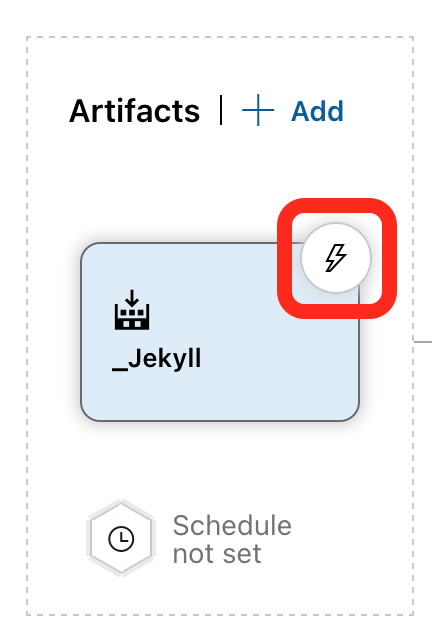
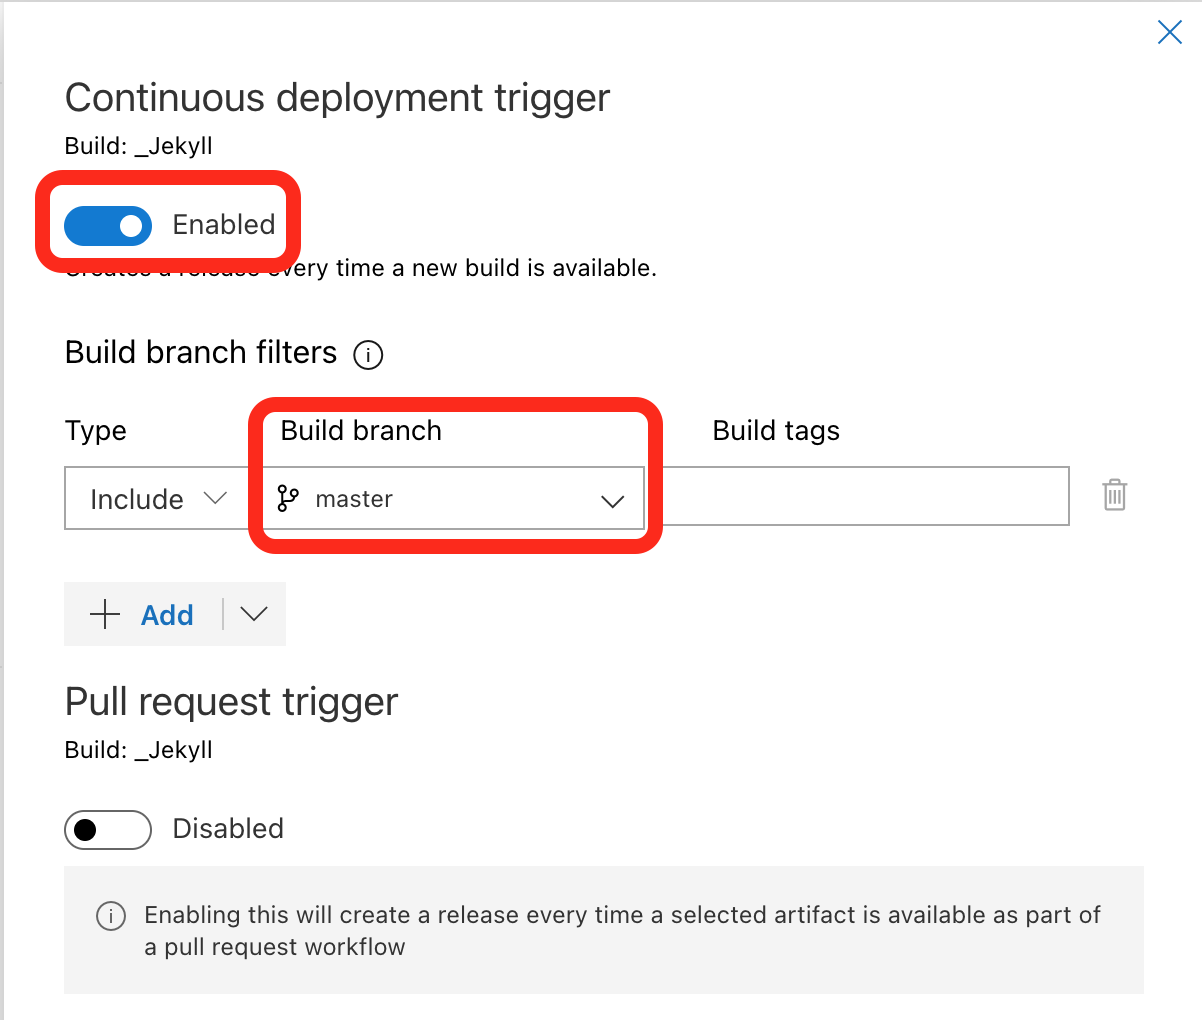
Switch the slider to Enabled and add the master branch to the build branch filters:
In Stages, click on the “1 job, 0 task” link
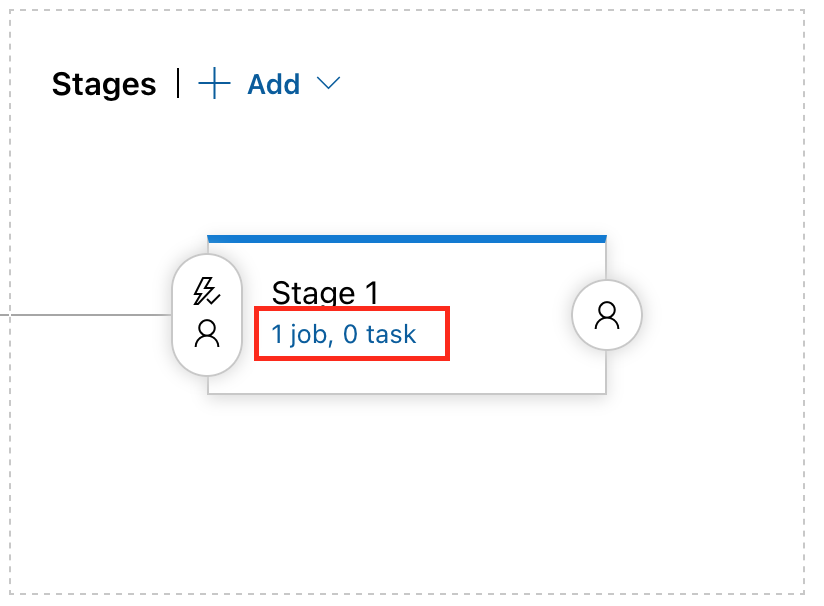
This will open the Deployment process Agent job.
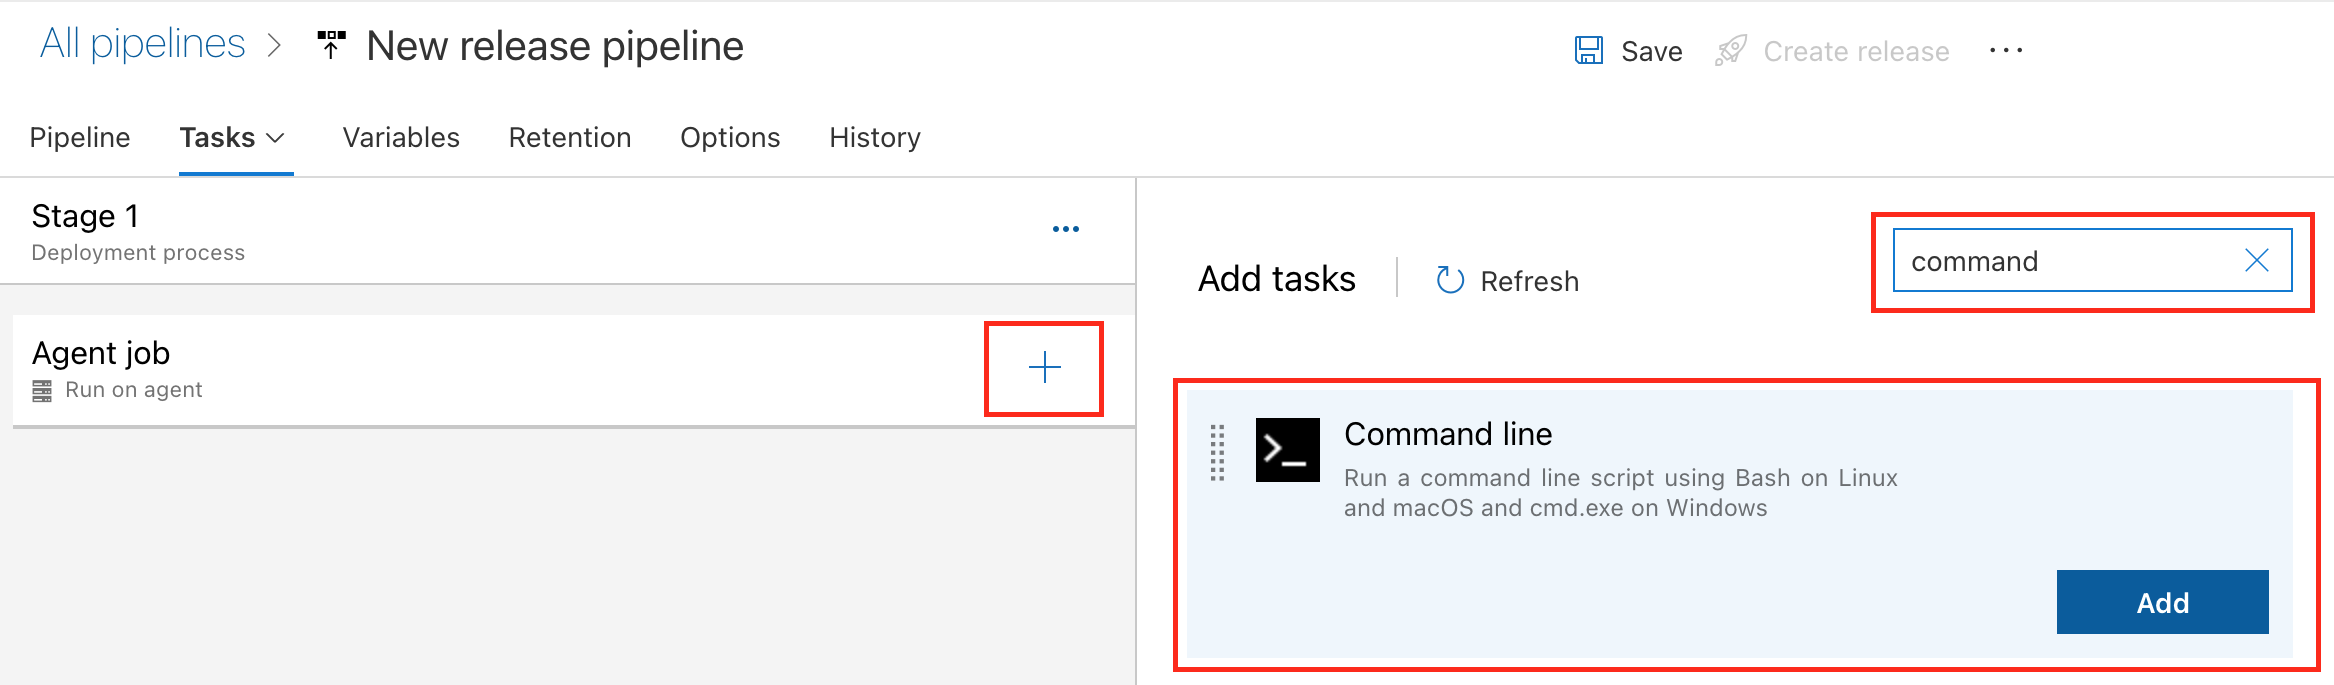
Add a command line task to the agent job:
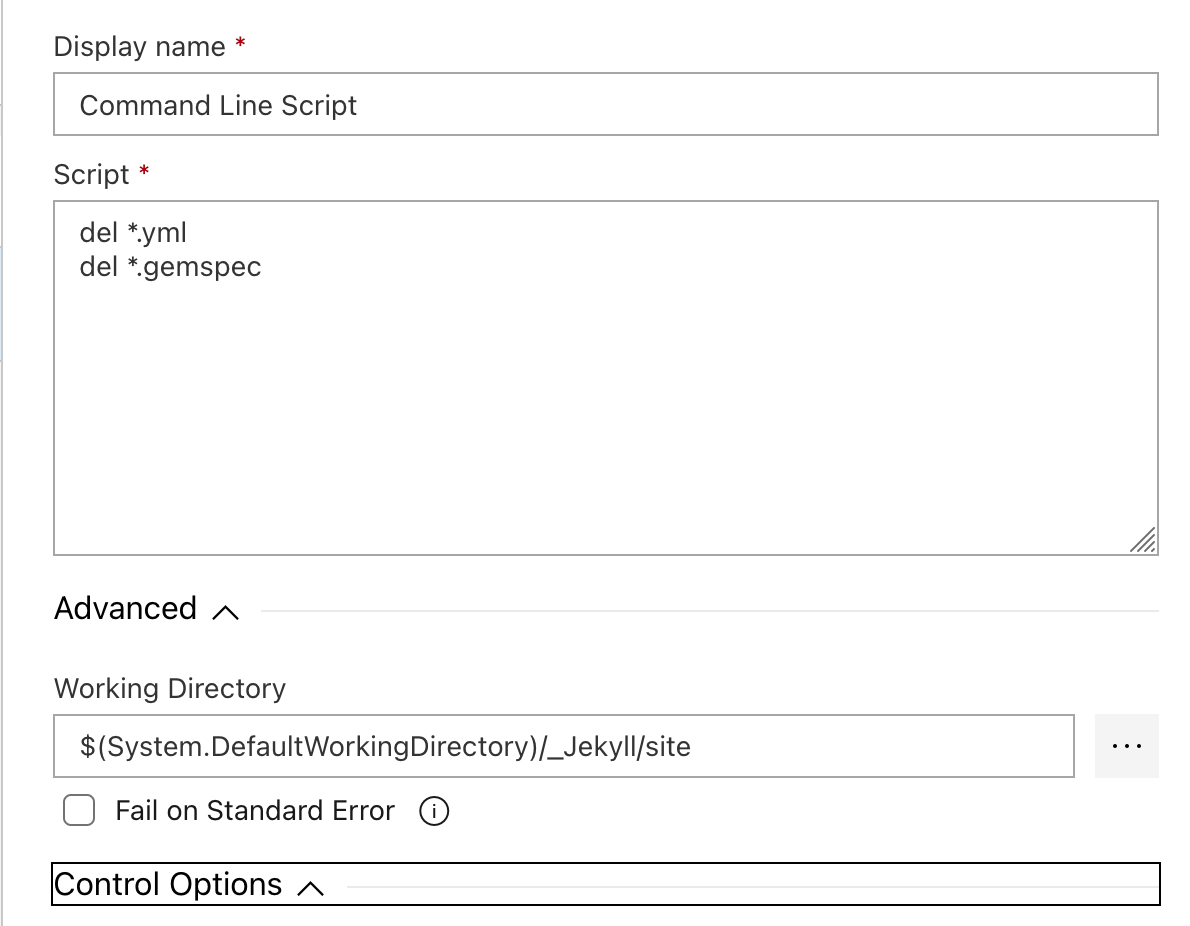
In the task, add to the script:
del *.yml
del *.gemspec
and set the working directory to:
$(System.DefaultWorkingDirectory)/_*Your_ADO_Project_Name*/site
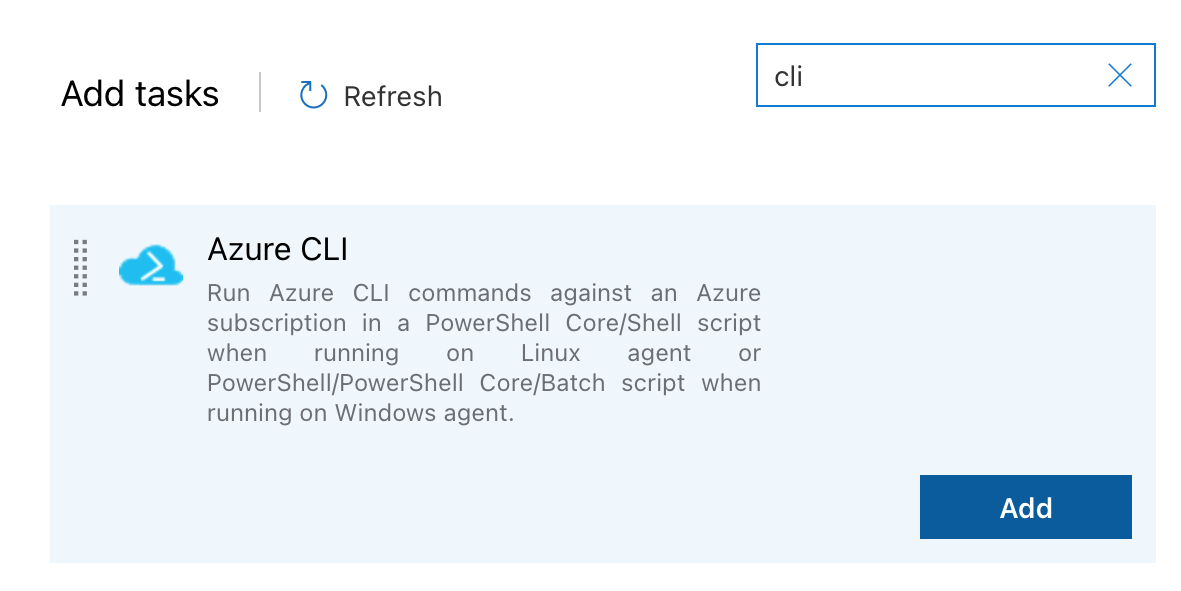
Second, add an “Azure CLI” task:
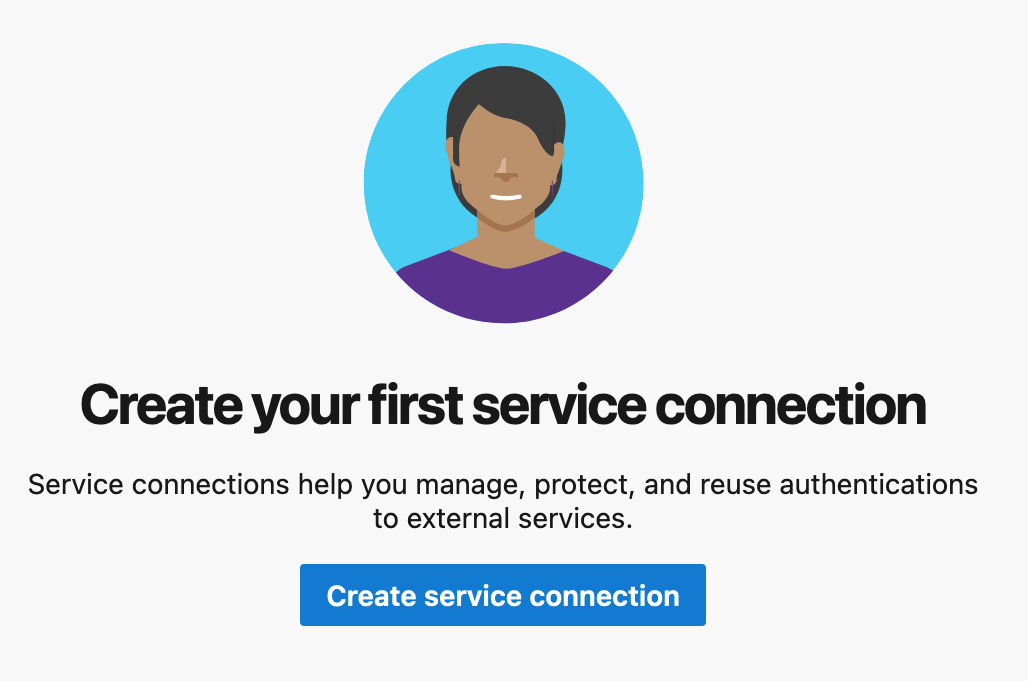
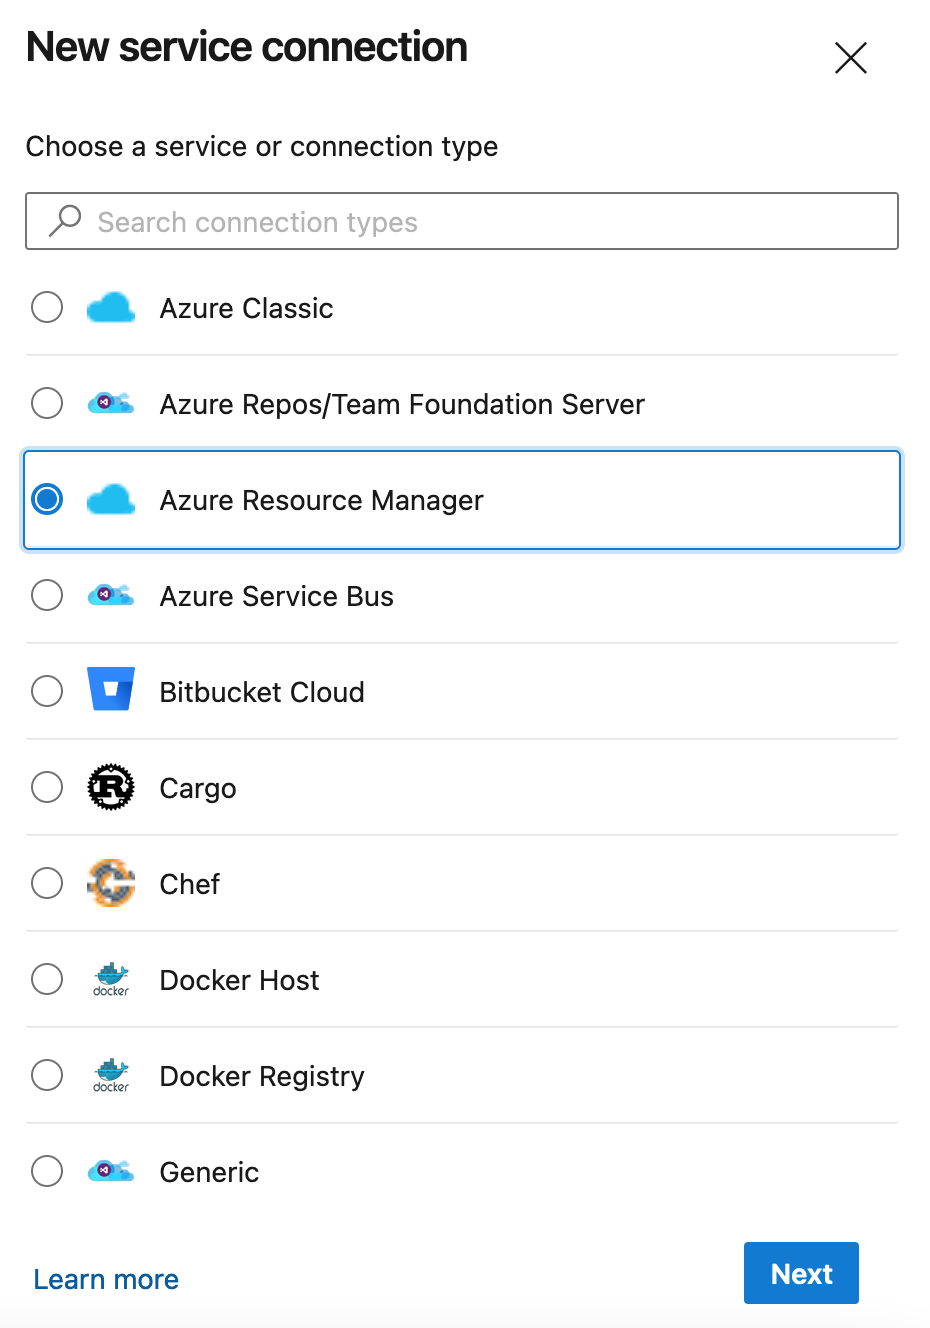
ADO needs a means to upload the site into the storage account. It uses a Service Principal to do this. To create a Service Principal, in the Azure CLI task, click on “Manage”:

Click on “Create service connection” and select “Azure Resource Manager”, then “Service principal (automatic)”:

Select the storage account’s subscription and resource group, give the connection a name, and tick “Grant access permission to all pipelines”:
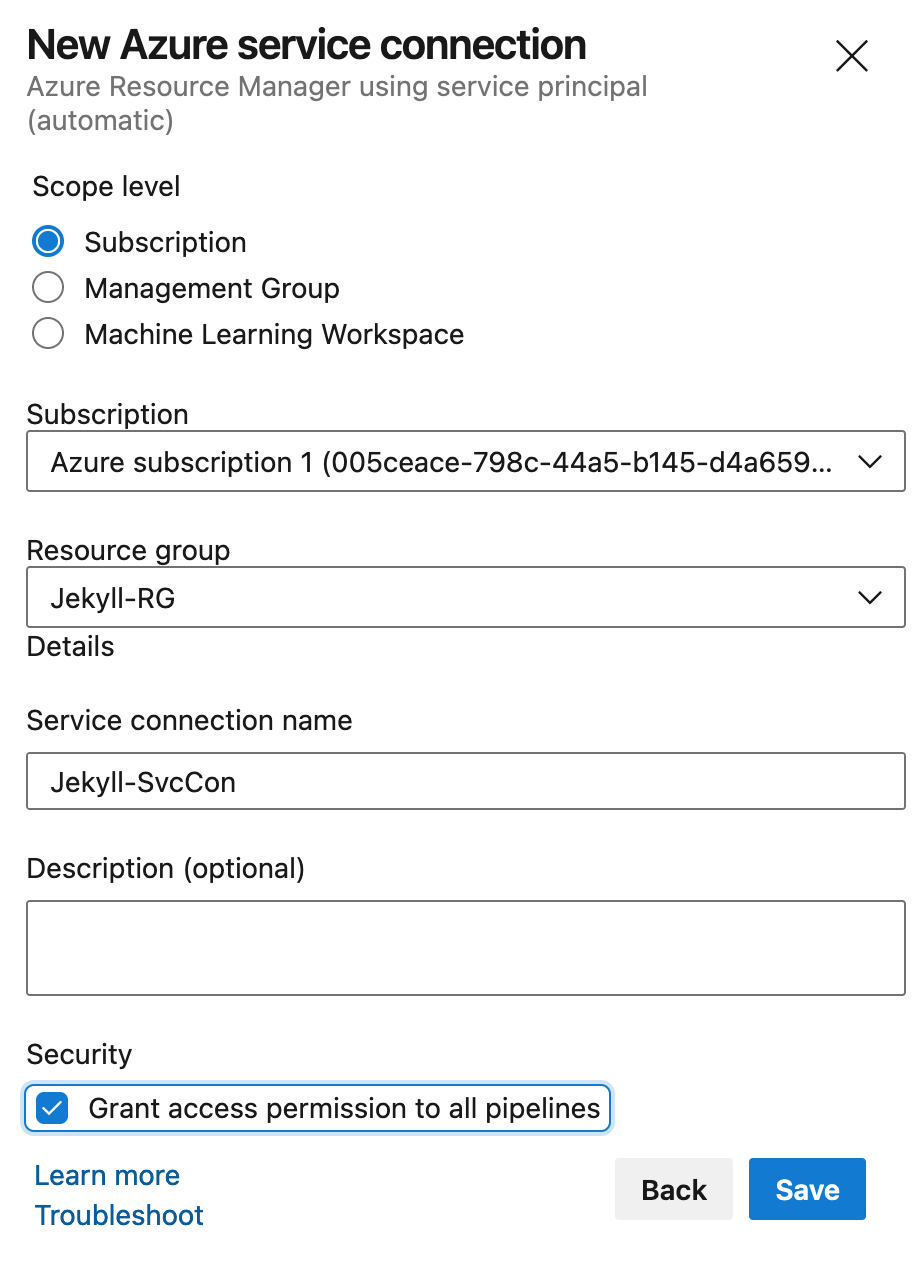
Save and wait for the process to complete.
Back in the Azure CLI task, select the newly created Service Principal:
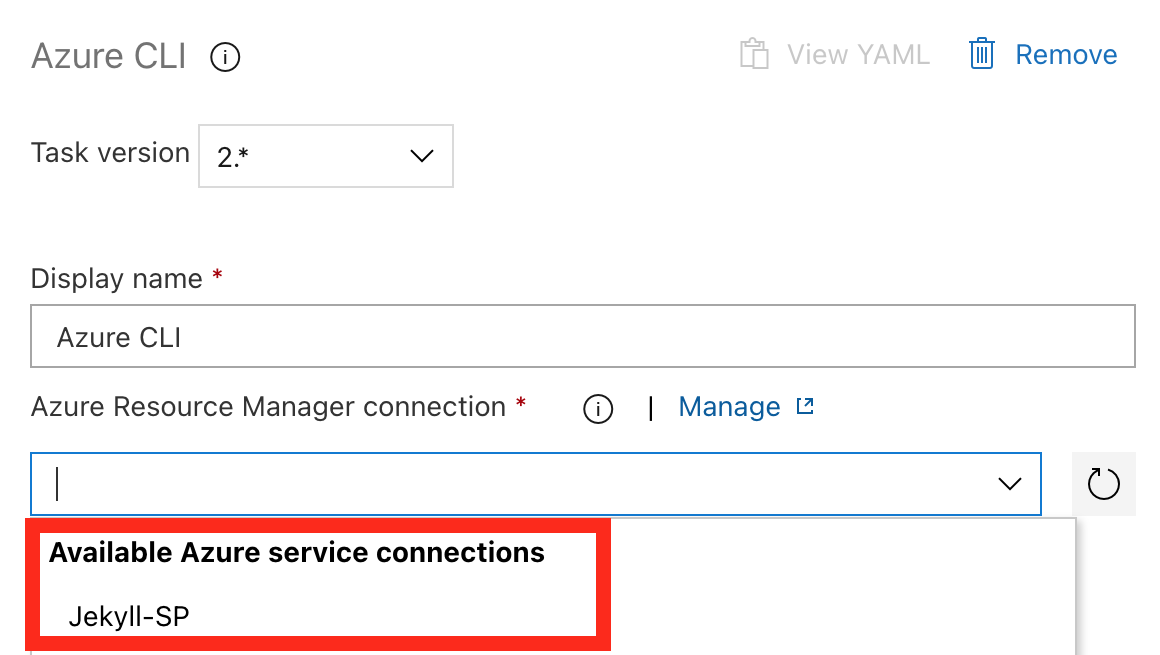
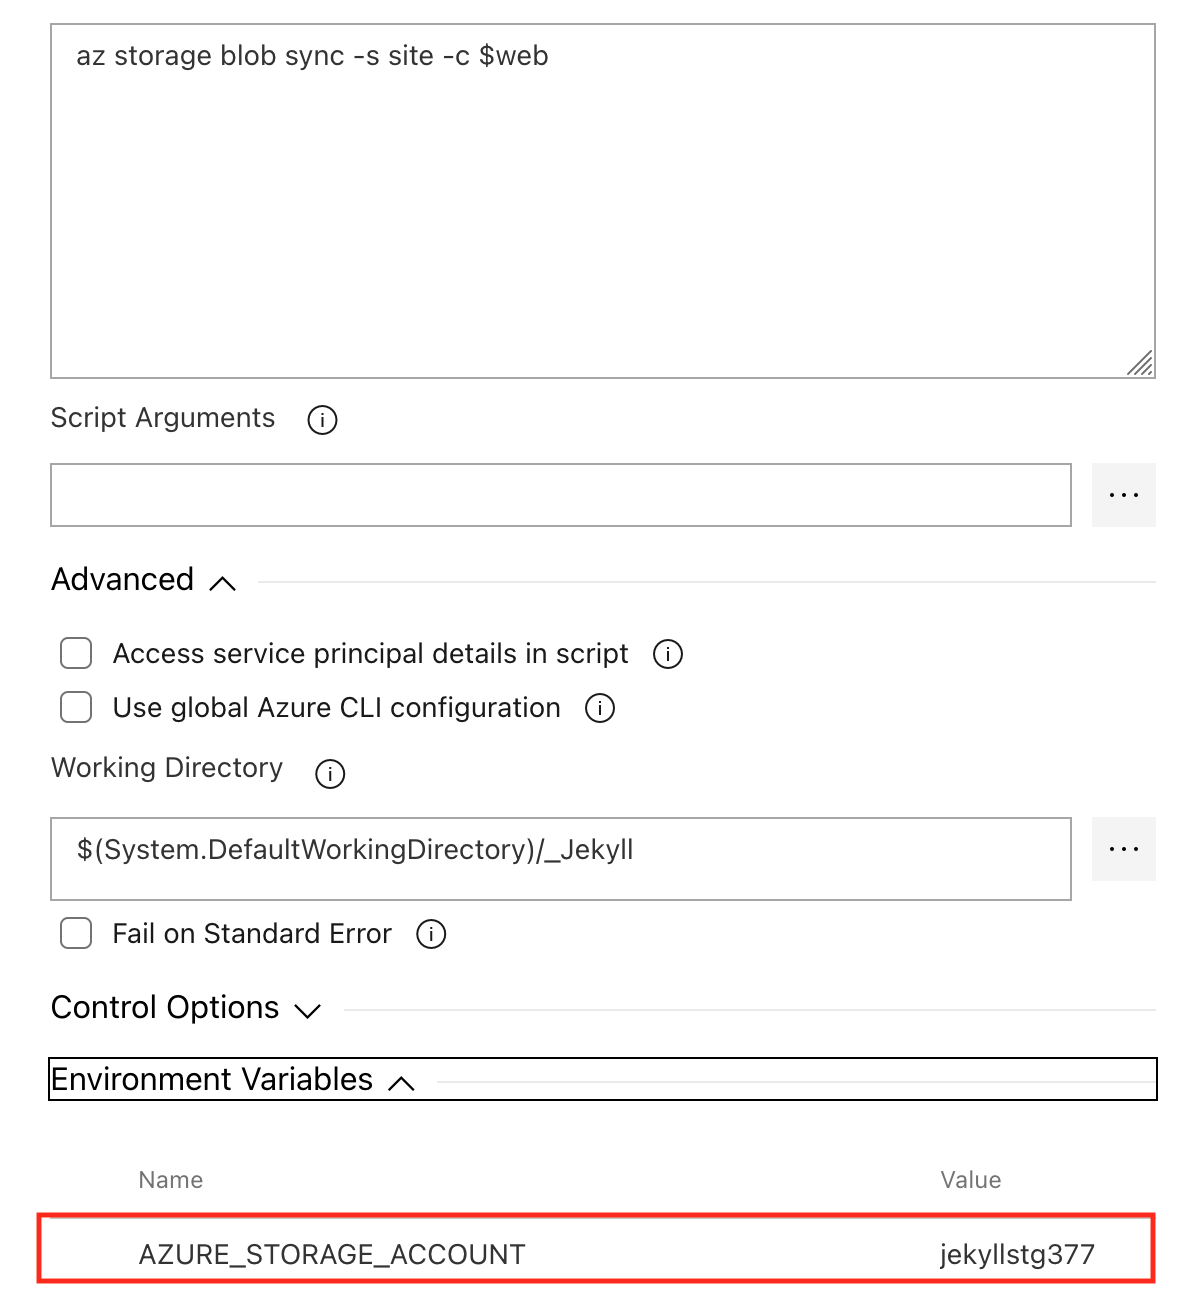
Configure the options as follows:
Script type:			Batch
Script location:		Inline script
Inline script:			az storage blob sync -s site -c $web

Working Directory:		$(System.DefaultWorkingDirectory)/_Your_ADO_Project_Name

Environment Variables:	AZURE_STORAGE_ACCOUNT
Set the AZURE_STORAGE_ACCOUNT value to the name of your storage account.
Click on the Save icon at the top of the page -> OK
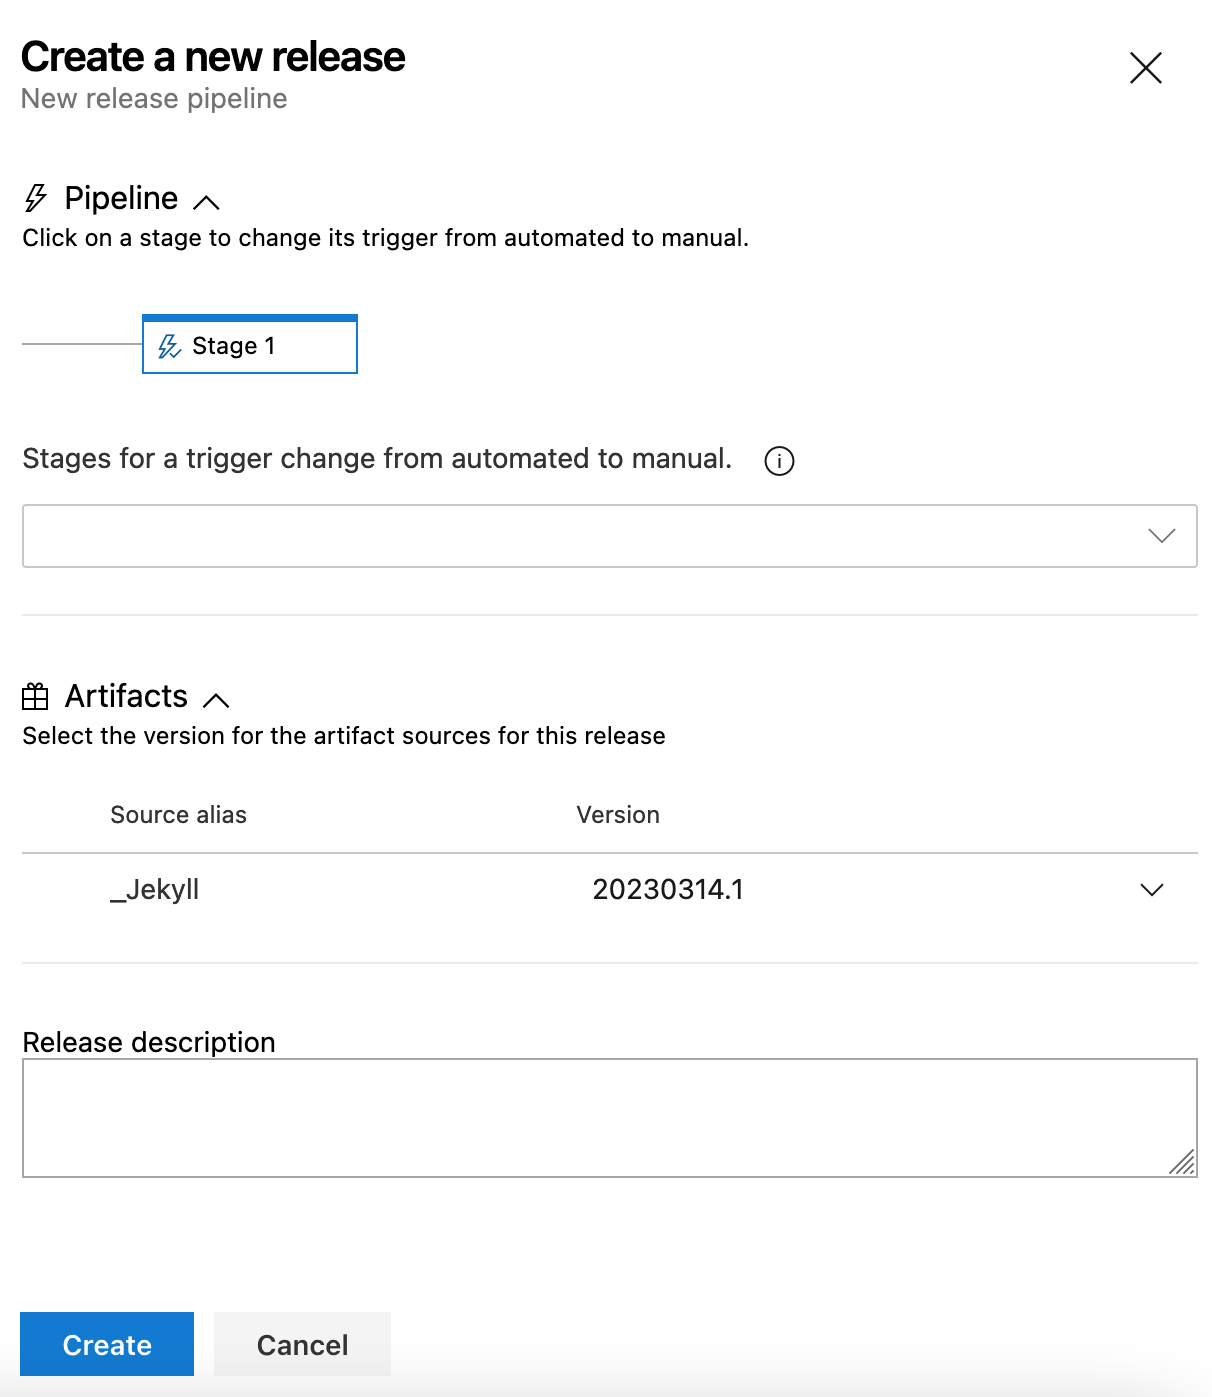
Next click on “Create release”:

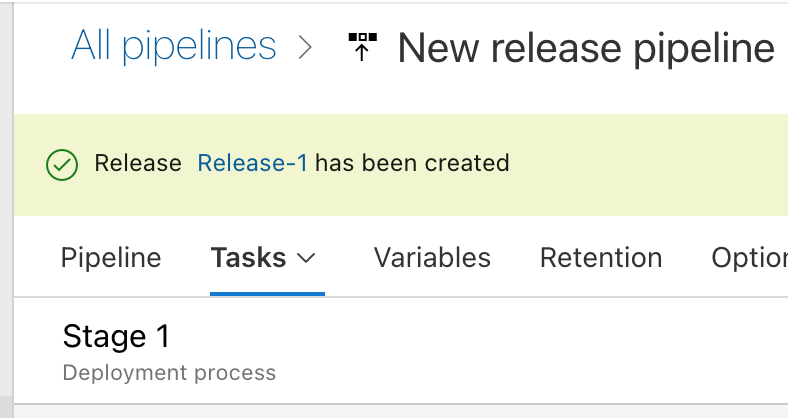
Click “Create”
Click on the “Release-1” link to open the release pipeline:
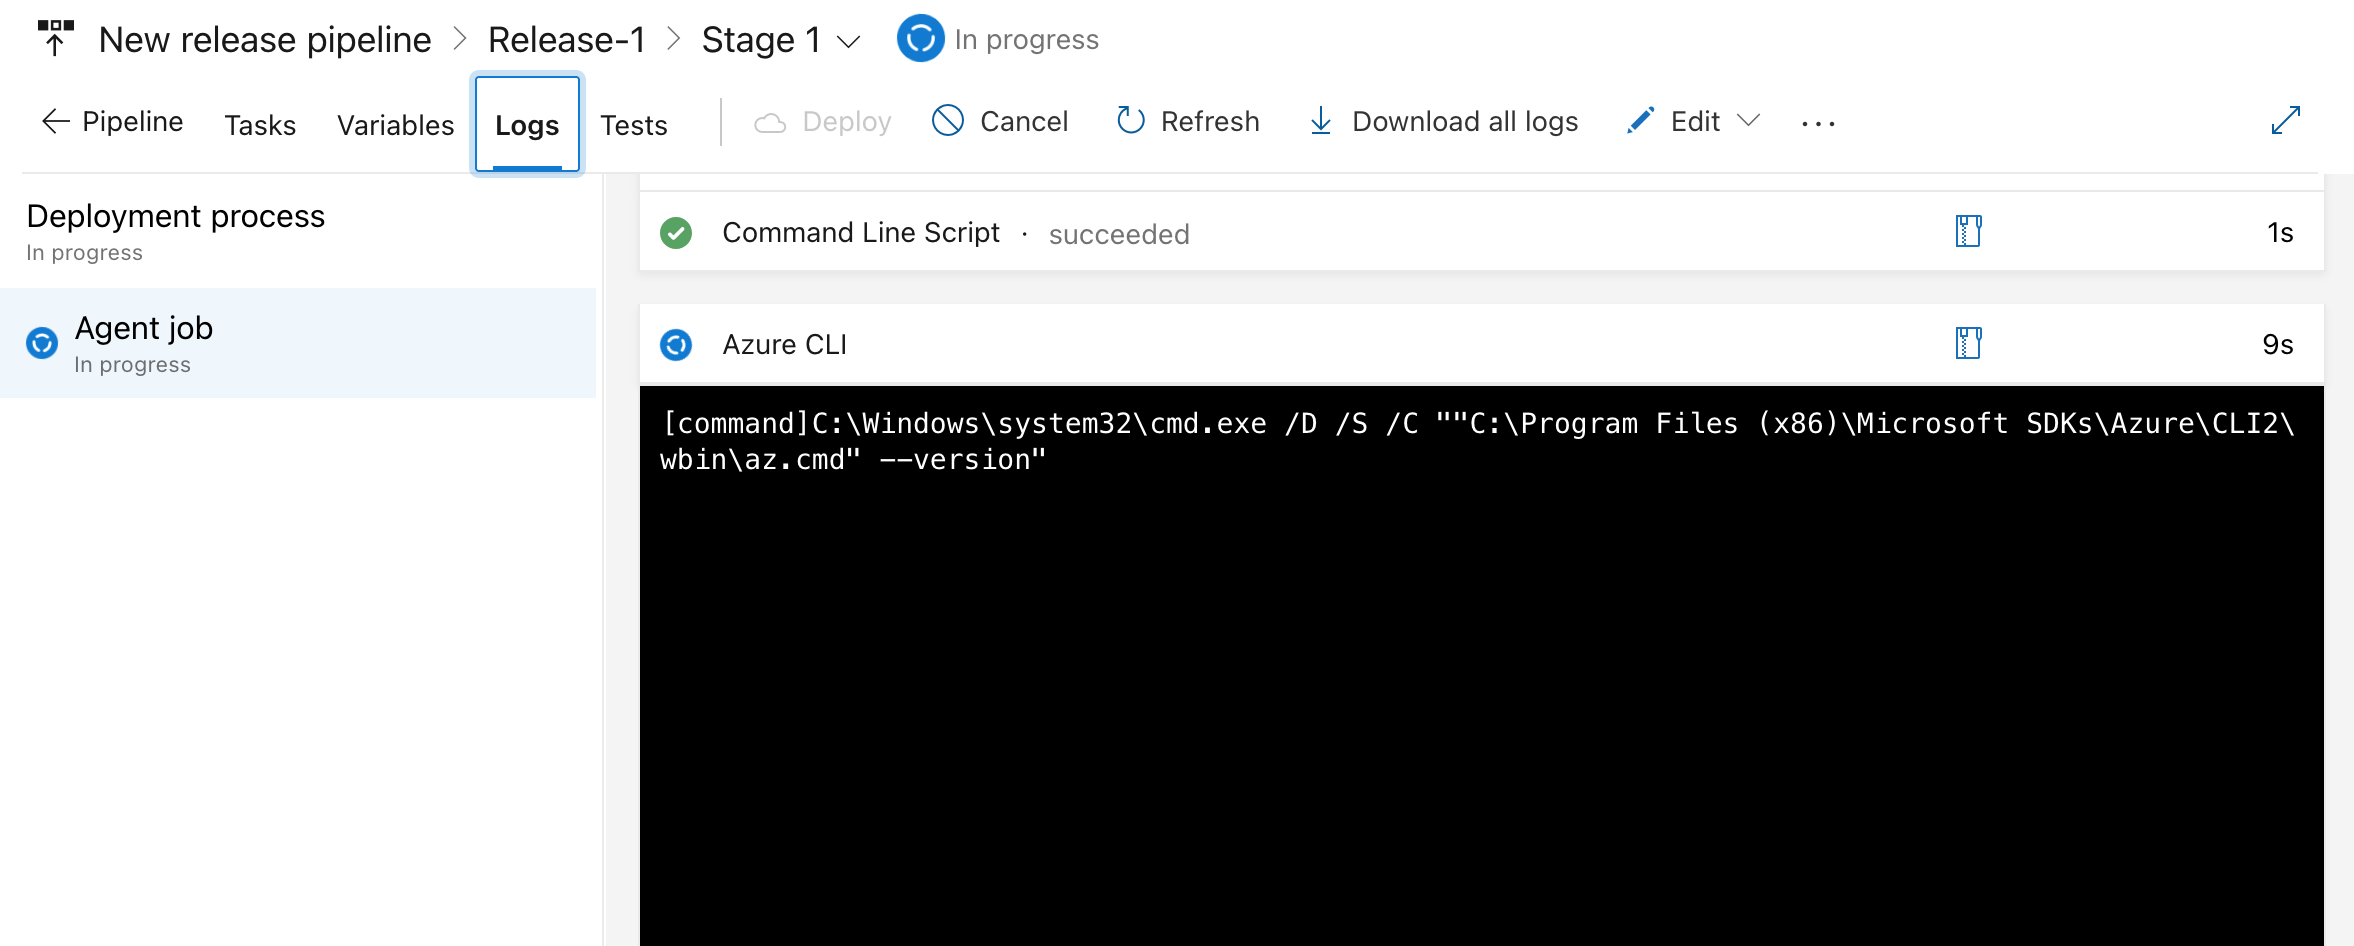
Once the Stage 1 has been queued you can click on it and check its progress

You can view the logs in real-time:
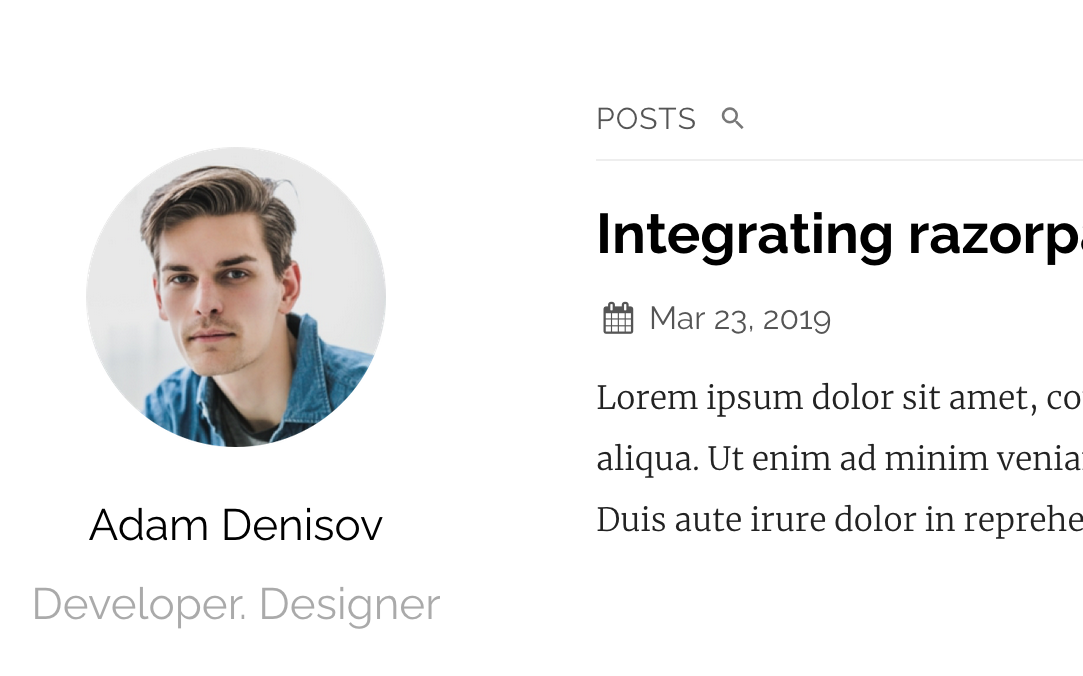
Once the job has completed, check that the site has deployed correctly to the storage account URL:
You should get the default PlainWhite page:
Now you have the site up and running, you can start to make changes. For quick visual feedback you can serve the site locally. In VSCode, open a terminal and run:
bundle exec Jekyll serve
This will serve the site on http://127.0.0.1:4000
You can quickly see the effect of changes and only trigger a Build/Deploy when you’re ready.
For information on customising your site, have a look at the Jekyll docs.
The next in this series of posts, which covers Azure DNS, Azure CDN, and auto-renewing SSL certs, can be found here.